# | include: false
import numpy as np
import pandas as pd

np.random.seed(256852)Hello, Jupyter! (Need)
1 Jupyter, who?
There are many1 ways to use (i.e., give it instructions to) Python. One very versatile way is using Jupyter Notebooks. Jupyter Notebooks offers a rich textual background to place our code in context. It is particularly useful for scientific work and is used in research. A cool example is the analysis of gravitational wave experiments (LIGO) that won the 2017 Nobel Prize in Physics (see here).
In this introductory chapter, I will take you through the installation of Python and Jupyter Notebooks on your computer. Later, we will explore how we can leverage other features of Jupyter to make our coding journey easy and fun.
2 Anaconda & Miniconda
![]() Several companies have created collections of Python and related packages2 to make it easy for us to get started. We call such collections a distribution. We will use the free distributions from the company Anaconda (anaconda.com). Anaconda offers two Python distributions:
Several companies have created collections of Python and related packages2 to make it easy for us to get started. We call such collections a distribution. We will use the free distributions from the company Anaconda (anaconda.com). Anaconda offers two Python distributions: Miniconda (≈ 200 MB) and Anaconda(≈ 2 GB).
We will use Miniconda because it is lightweight3 and won’t hog up disk space on your machine. However, since Miniconda does not install all packages, we must install the ones we need as and when we need them. This is good because it gives us more control and allows us to learn how to install Python packages.
Remember
Please speak to us often, especially if you encounter any difficulties.
2.1 Download & install Miniconda
First, we need to download the installer. Please follow the instructions below that are relevant to your operating system.
Install Miniconda.
- Double-clicking the
.exefile. - Follow the instructions on the screen:
- When not sure, just use the installer’s default setting.
- You must decide ‘Just Me’ or ‘All Users’. If you are installing for ‘All Users’, you must have Administrator privileges on your machine.
- Double-clicking the
- Download the installer
- Visit this page.
- Choose the bash package corresponding to your computer’s chip (i.e., M1, Intel)
- Download to your Downloads folder (this is the default).
- Install Miniconda.
- Start up the Terminal app either from the Applications folder or using the Launchpad.
- Type the following and press
ENTER
cd ~/DownloadsThis changes directory (folder) to ‘Downloads’.
- Type the following, adjusting the file name according to step 1, and press
ENTER
bash Miniconda3-latest-MacOSX-x86_64.shThis starts the installer.
- Follow the instructions on the screen:
- When not sure, just use the installer’s default setting.
- You must decide ‘Just Me’ or ‘All Users’. If you are installing for ‘All Users’, you must have Administrator privileges on your machine.
- Start up the Terminal app either from the Applications folder or using the Launchpad.
3 Hello Command prompt
3.1 What is the command prompt
:max_bytes(150000):strip_icc():format(webp)/windows-terminal-bc68f652016d4bc3a0b1e62f219a2637.png) Before proceeding further, allow me to introduce you to the command prompt. The command prompt is one of the most powerful features of your operating system. However, because it is not as friendly as the windows based graphical user interface (GUI), people shy away from using it. Unfortunately, we do not have a choice; we have to use the prompt to maintain (i. e., install, uninstall, upgrade) components and to start Jupyter Notebooks. So, let’s bite the bullet and learn how to use it.
Before proceeding further, allow me to introduce you to the command prompt. The command prompt is one of the most powerful features of your operating system. However, because it is not as friendly as the windows based graphical user interface (GUI), people shy away from using it. Unfortunately, we do not have a choice; we have to use the prompt to maintain (i. e., install, uninstall, upgrade) components and to start Jupyter Notebooks. So, let’s bite the bullet and learn how to use it.
3.2 Opening the prompt
Windows users should use the Anaconda Prompt.
You can open this from the Start menu.
macOS has a native prompt called the Terminal, which you can open from the Applications folder or the Launchpad.
3.3 Navigate using the prompt
We will often need to navigate to different folders using the prompt. The command to change the directory (or folder) is issued as follows.
cd path-to-folderLet’s navigate into the folder you created previously. For this, we need the full path (e.g. C:\\Documents...) of that folder. Using the GUI (Windows File Explorer or Finder) is the easiest way to extract the path to the folder you want.
Go to the folder using the file explore GUI,
Right-click on the top address bar as shown below.
Pick Copy address as text
Now just paste the result in the command line and press
Enter:
cd path-to-folder- Locate the folder using the Finder,
- Right-click on the folder icon and choose Get Info.
- Now hold the
Optionbutton and pick Copyfilenameas Pathname. - Now just paste the result in the command line and press
Enter:
cd path-to-folder3.4 Using the prompt with conda
conda is the name of the main programme from Anaconda that controls everything in the installation. It is called the package manager. You will typically have to use conda to install, upgrade or remove packages. Here are two examples of how to use the prompt. Please try them both.
Let’s use the prompt to check if our previous installation of Miniconda went okay. For this, run (i.e., type and press ENTER) the following:
conda listThis will give you a list of all the things that are installed under Miniconda.
The installer does not always install the most recent versions. So, let’s first update Miniconda itself. Here is the command to do this.
conda update conda 4 Installing Jupyter and other stuff
Now, let’s install Jupyter and some other really useful packages. For this, please type out the following and press ENTER after each command.
conda install jupyter -c conda-forge -y conda install numpy -c conda-forge -yJust so that you understand what is happening:
-c conda-forgespecifies that I want the packages to be installed from the source calledconda-forgebecause this usually has the most recent versions of the packages.-yis there because I am lazy and don’t want to keep on answering questions; instead, I have said yes to all!
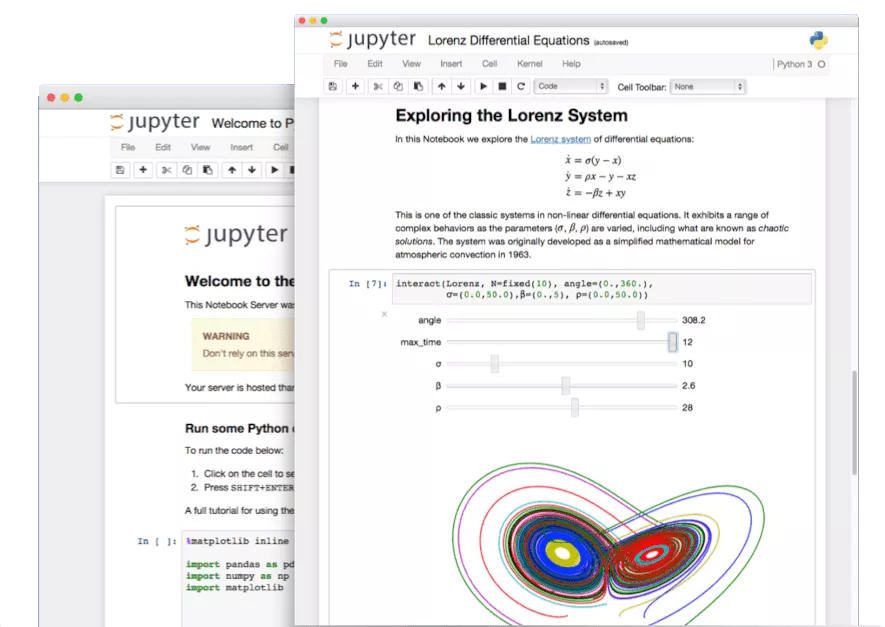
4.1 Jupyter… the first run
Finally, it is time to run Jupyter for the first time. We need to start Jupyter using the prompt by invoking:
jupyter notebookIf you are on Windows, you can also type “Jupyter notebook” in the search bar and click on the Jupyter Notebook icon.
When you do this, a webpage will open up and display the content of the folder you started Jupyter in. Since we are in the Learning Portfolio, you should see that content.
We are done with this chapter. I will show you how to use Jupyter in the next part. But, for now, press the button .