Raspberry Pi–Based Spectrometer
Building a Compact Optical System to Measure Light
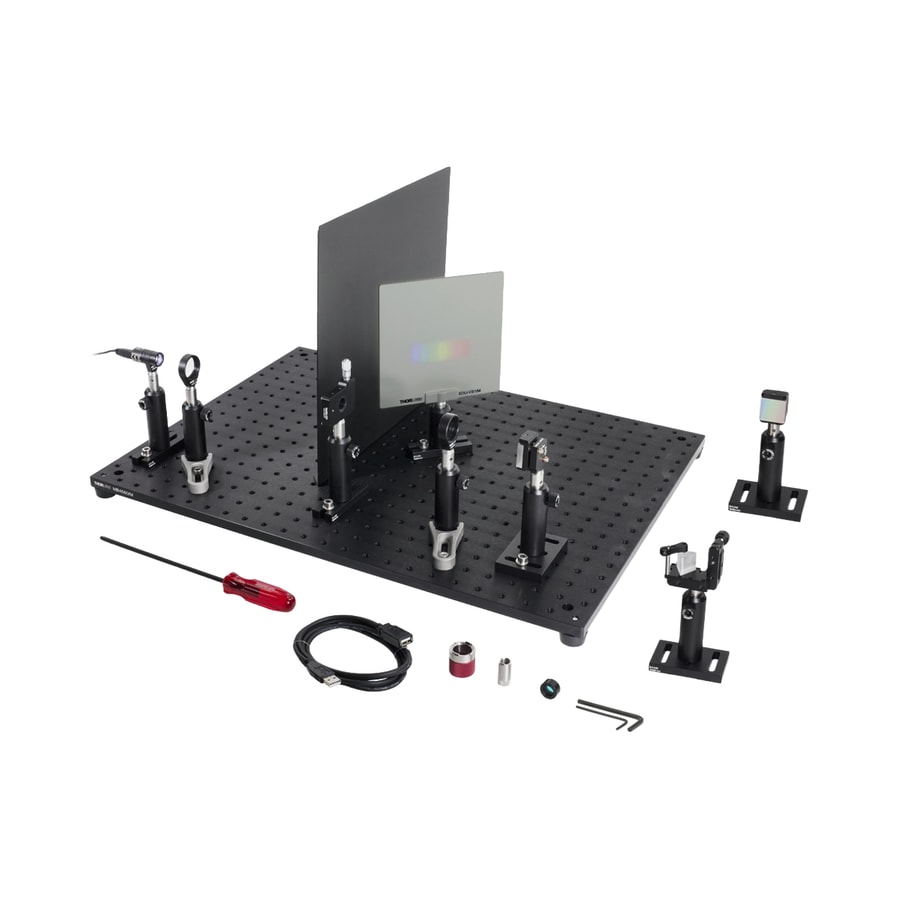
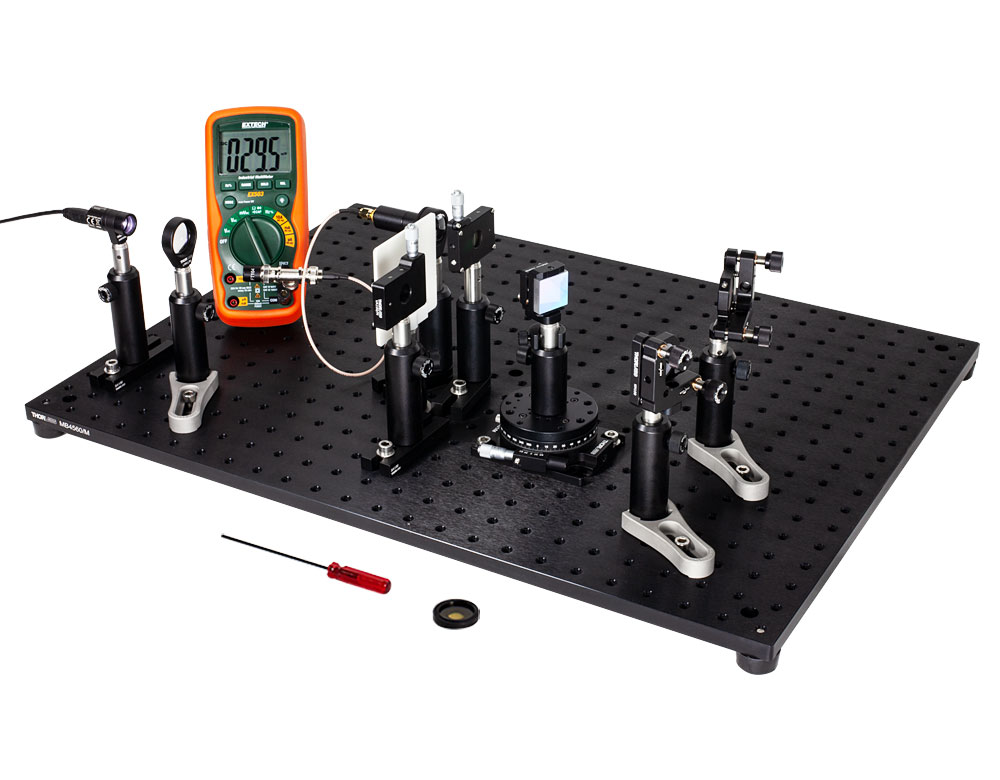
(Source: ThorLabs)
Introduction
Spectrometry allows us to use light as a probe to reveal the invisible structure and behavior of atoms and molecules. When light interacts with matter, it carries away a signature of that interaction: a pattern of colours or wavelengths that encodes physical information. By carefully analyzing these spectral patterns, scientists can deduce the composition, temperature, and even the motion of distant stars or, at a much smaller scale, the concentration of chemical species in a liquid sample.
In everyday research, spectrometers are indispensable. They are used in chemistry to measure absorption spectra of solutions, in physics to study atomic transitions, and in environmental science to detect pollutants. However, commercial spectrometers are often expensive and not easily modified for exploratory work.
This project asks you to bridge that gap by designing and refining a Raspberry Pi–based spectrometer that is both accessible and scientifically meaningful. The challenge is to make something simple yet serious: an instrument that might not match the precision of a commercial system but still provides reliable, quantitative measurements when used carefully.
In doing so, you will move beyond the role of a “user” of equipment and step into the mindset of a builder and problem-solver: someone who understands how instruments work, what limits their accuracy, and how design choices shape data quality. You will engage with questions such as:
- How does the geometry of the setup affect spectral resolution?
- What optical components are truly essential, and which can be improvised?
- How can you calibrate wavelength using known emission lines?
- What are the main sources of noise and uncertainty in your measurements?
By the end of this project, you will have not just a working prototype but a deeper appreciation for the craft of scientific instrumentation: the delicate balance between theory, practicality, and ingenuity that underpins much of modern experimental science.
Project Details
Your PI wants to develop a fast, accurate, yet cost-effective capability to perform spectroscopic measurements of liquids. She has realised that it is quite feasible to build a simple but functional Raspberry Pi–based spectrometer.
To get started, she has used some remaining funds from a grant to purchase a few optical instruments from Thorlabs. More specifically, she has obtained two educational spectrometer kits (models EDU-SPEB2/M and EDU-SPEBCT1/M link) and gathered some additional components from colleagues who had spare parts lying around. Unfortunately, due to budget constraints and the short lead time to use the funds, some components are missing from the kits. A few parts were also intentionally left out: they are not essential for a system that uses a Raspberry Pi as the detector.
Your PI now needs your help to set up and test the optical system, refine the design, and establish a workflow that can be reproduced later by other researchers or students.
Your main task is to set up the optical system and obtain clear spectra from a few known light sources, (such as hydrogen (H), helium (He), and mercury (Hg) lamps).
To help you get started, you will be provided with the educational kits and some additional optical components. You are free to experiment with different optical designs and arrangements, as long as you you can justify your choices.
As you proceed, you will need to:
- Optimise your optical alignment to capture distinct spectral lines.
- Determine how best to position the slit, grating, and detector.
- Calibrate your wavelength scale using known emission lines.
- Keep detailed notes of all attempts, observations, and outcomes.
Remember: there is no single “correct” design the focus is on how you reason, iterate, and justify your decisions.
Additional Equipment: If you find that a particular component (for example, a lens or grating) is essential for your design, I can try to borrow or source it for you. However, such requests must come with a clear and specific justification in the form of an explanation what the component is for, what specifications you require, and why it is necessary for your setup to function properly.
In research, it is common to encounter an unfamiliar instrument or technique and have to learn enough about it to use it meaningfully. The instrument in this project uses a more advanced and optimised implementation of the diffraction-grating principles that you have already encountered. However, there is still much that you will need to learn. It is therefore essential that you study the relevant information provided with the equipment.
This project is challenging because there is no ready-made recipe that you can simply implement. As described in the scenario, we have only parts of the original kits. You will therefore need to reflect (pun intended) on what you are doing, why you are doing it, and what each decision is intended to achieve.
This exercise requires you not only to learn new material, but also to recognise and decide which topics and activities are important for your purpose and which can be safely omitted.
A good practice is to discuss each decision within your group and try to convince one another that you understand its purpose and expected outcome.
Optical Components
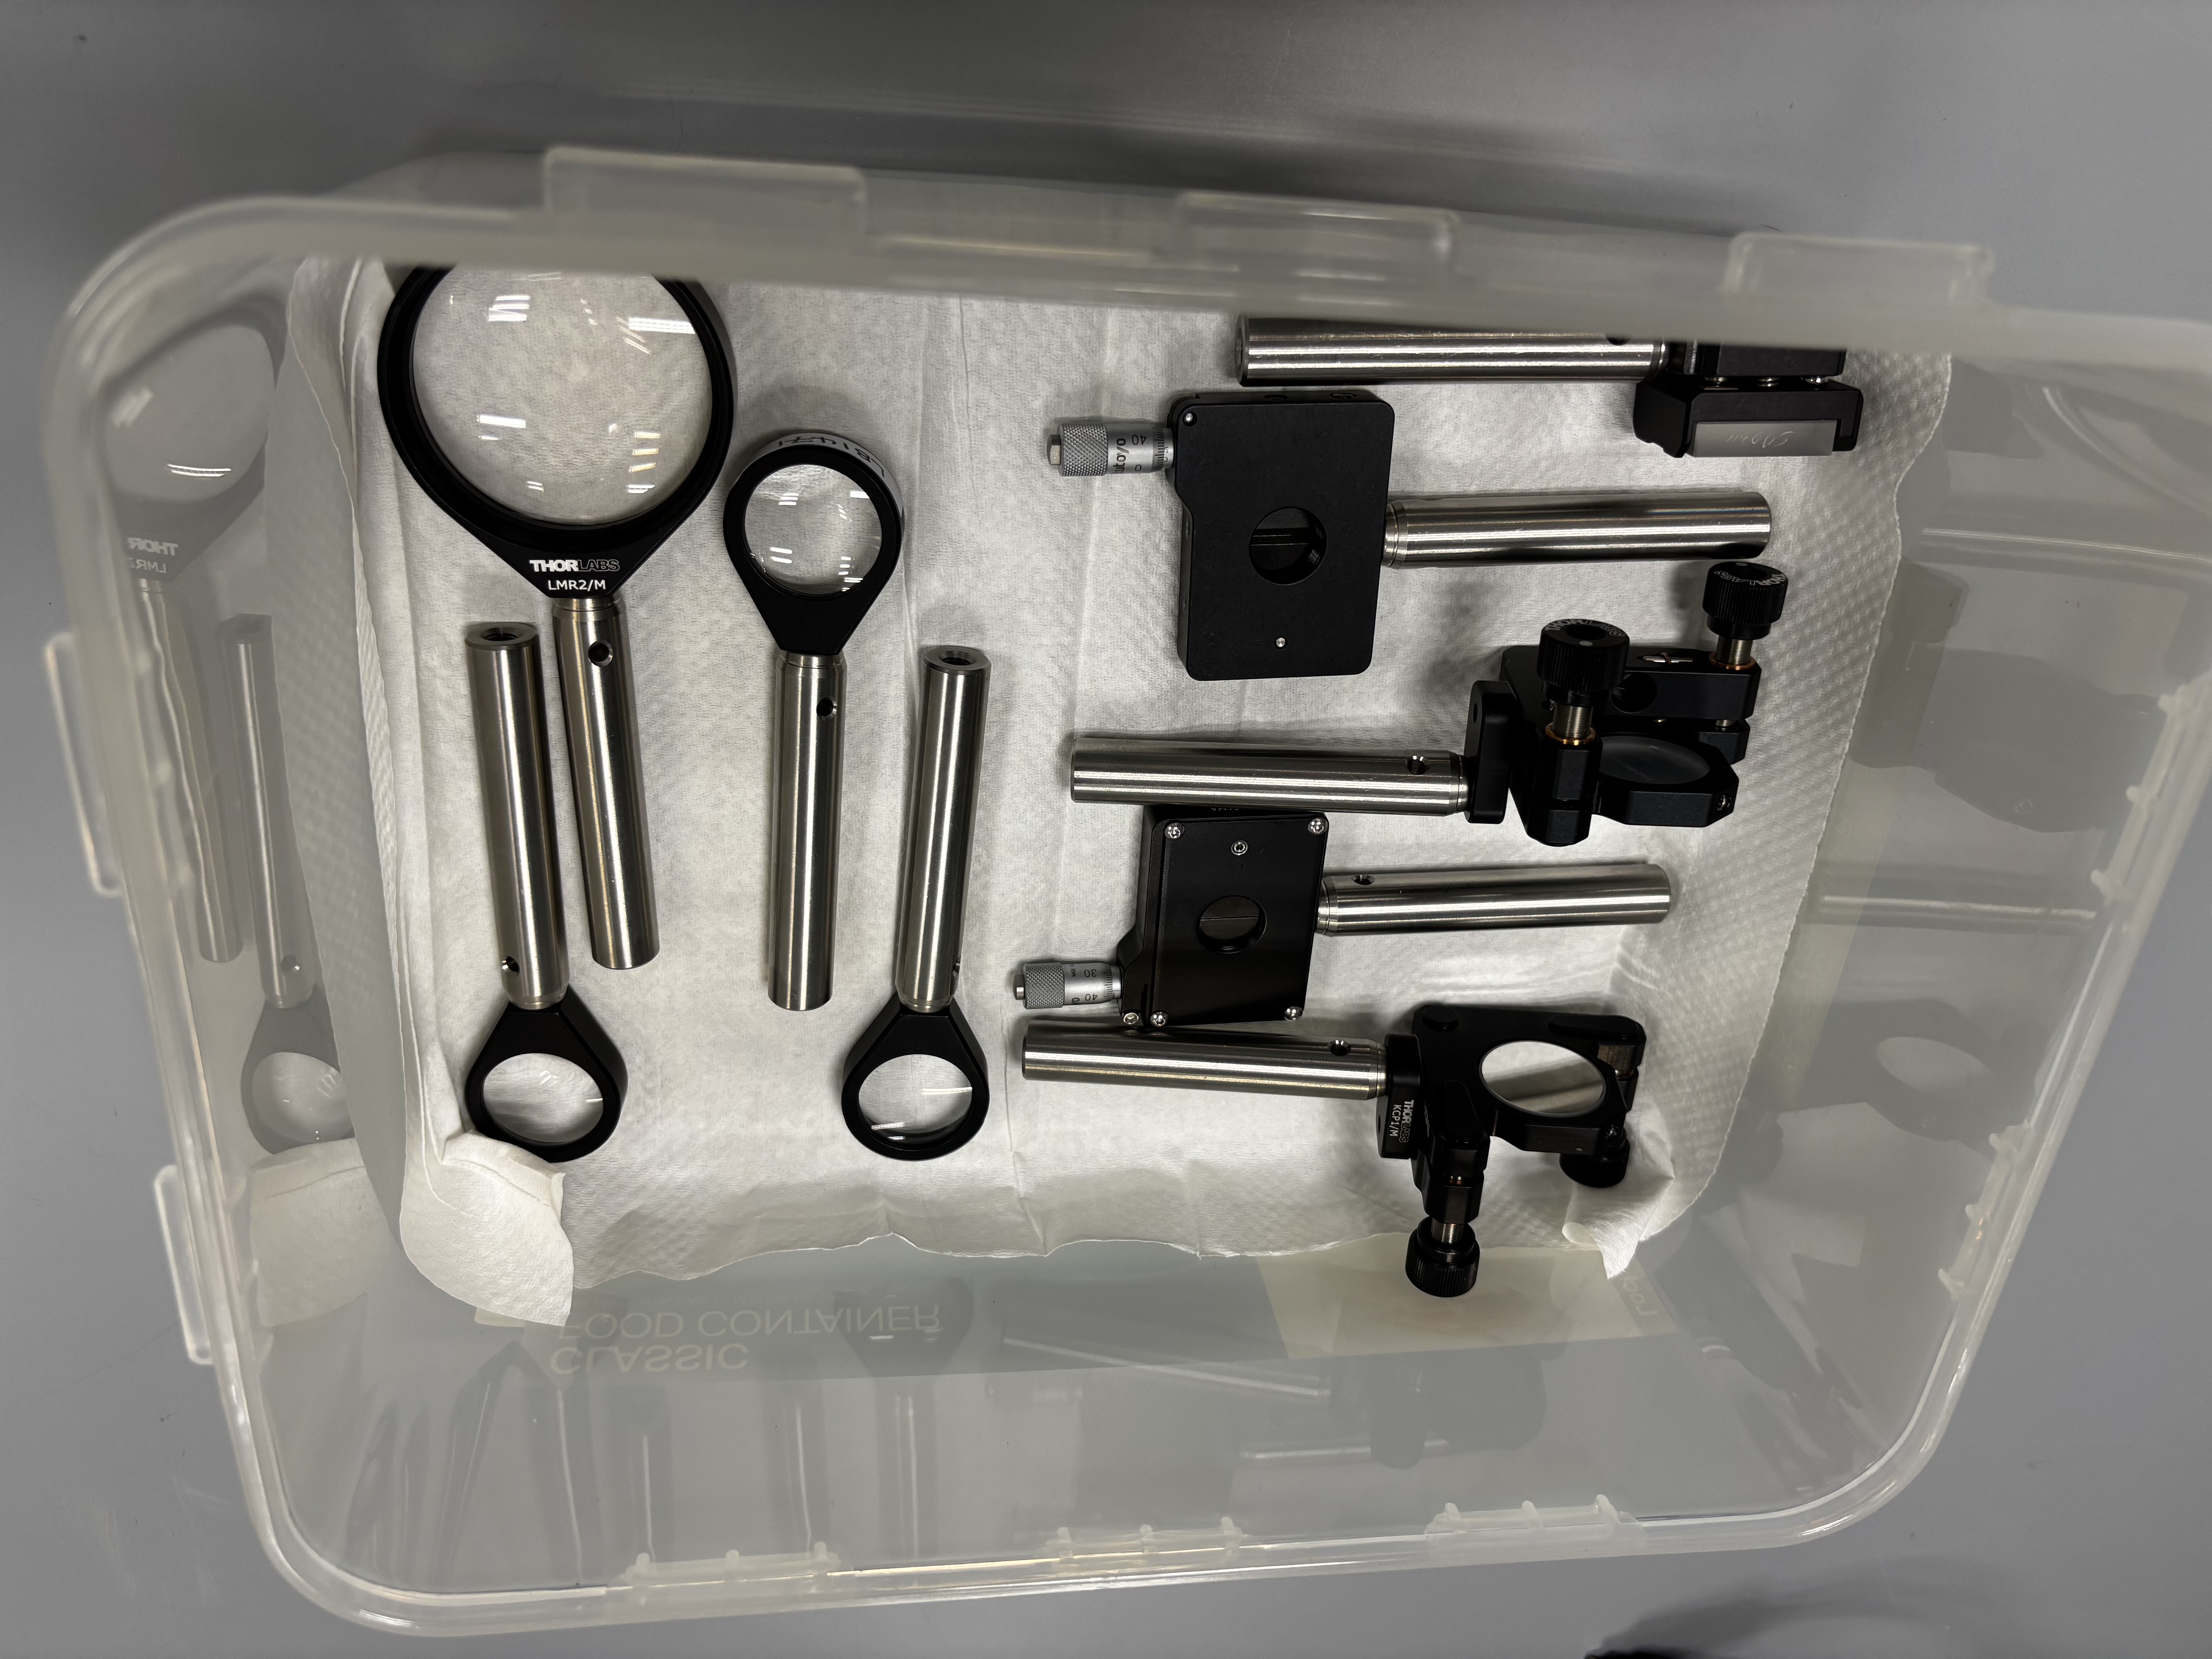
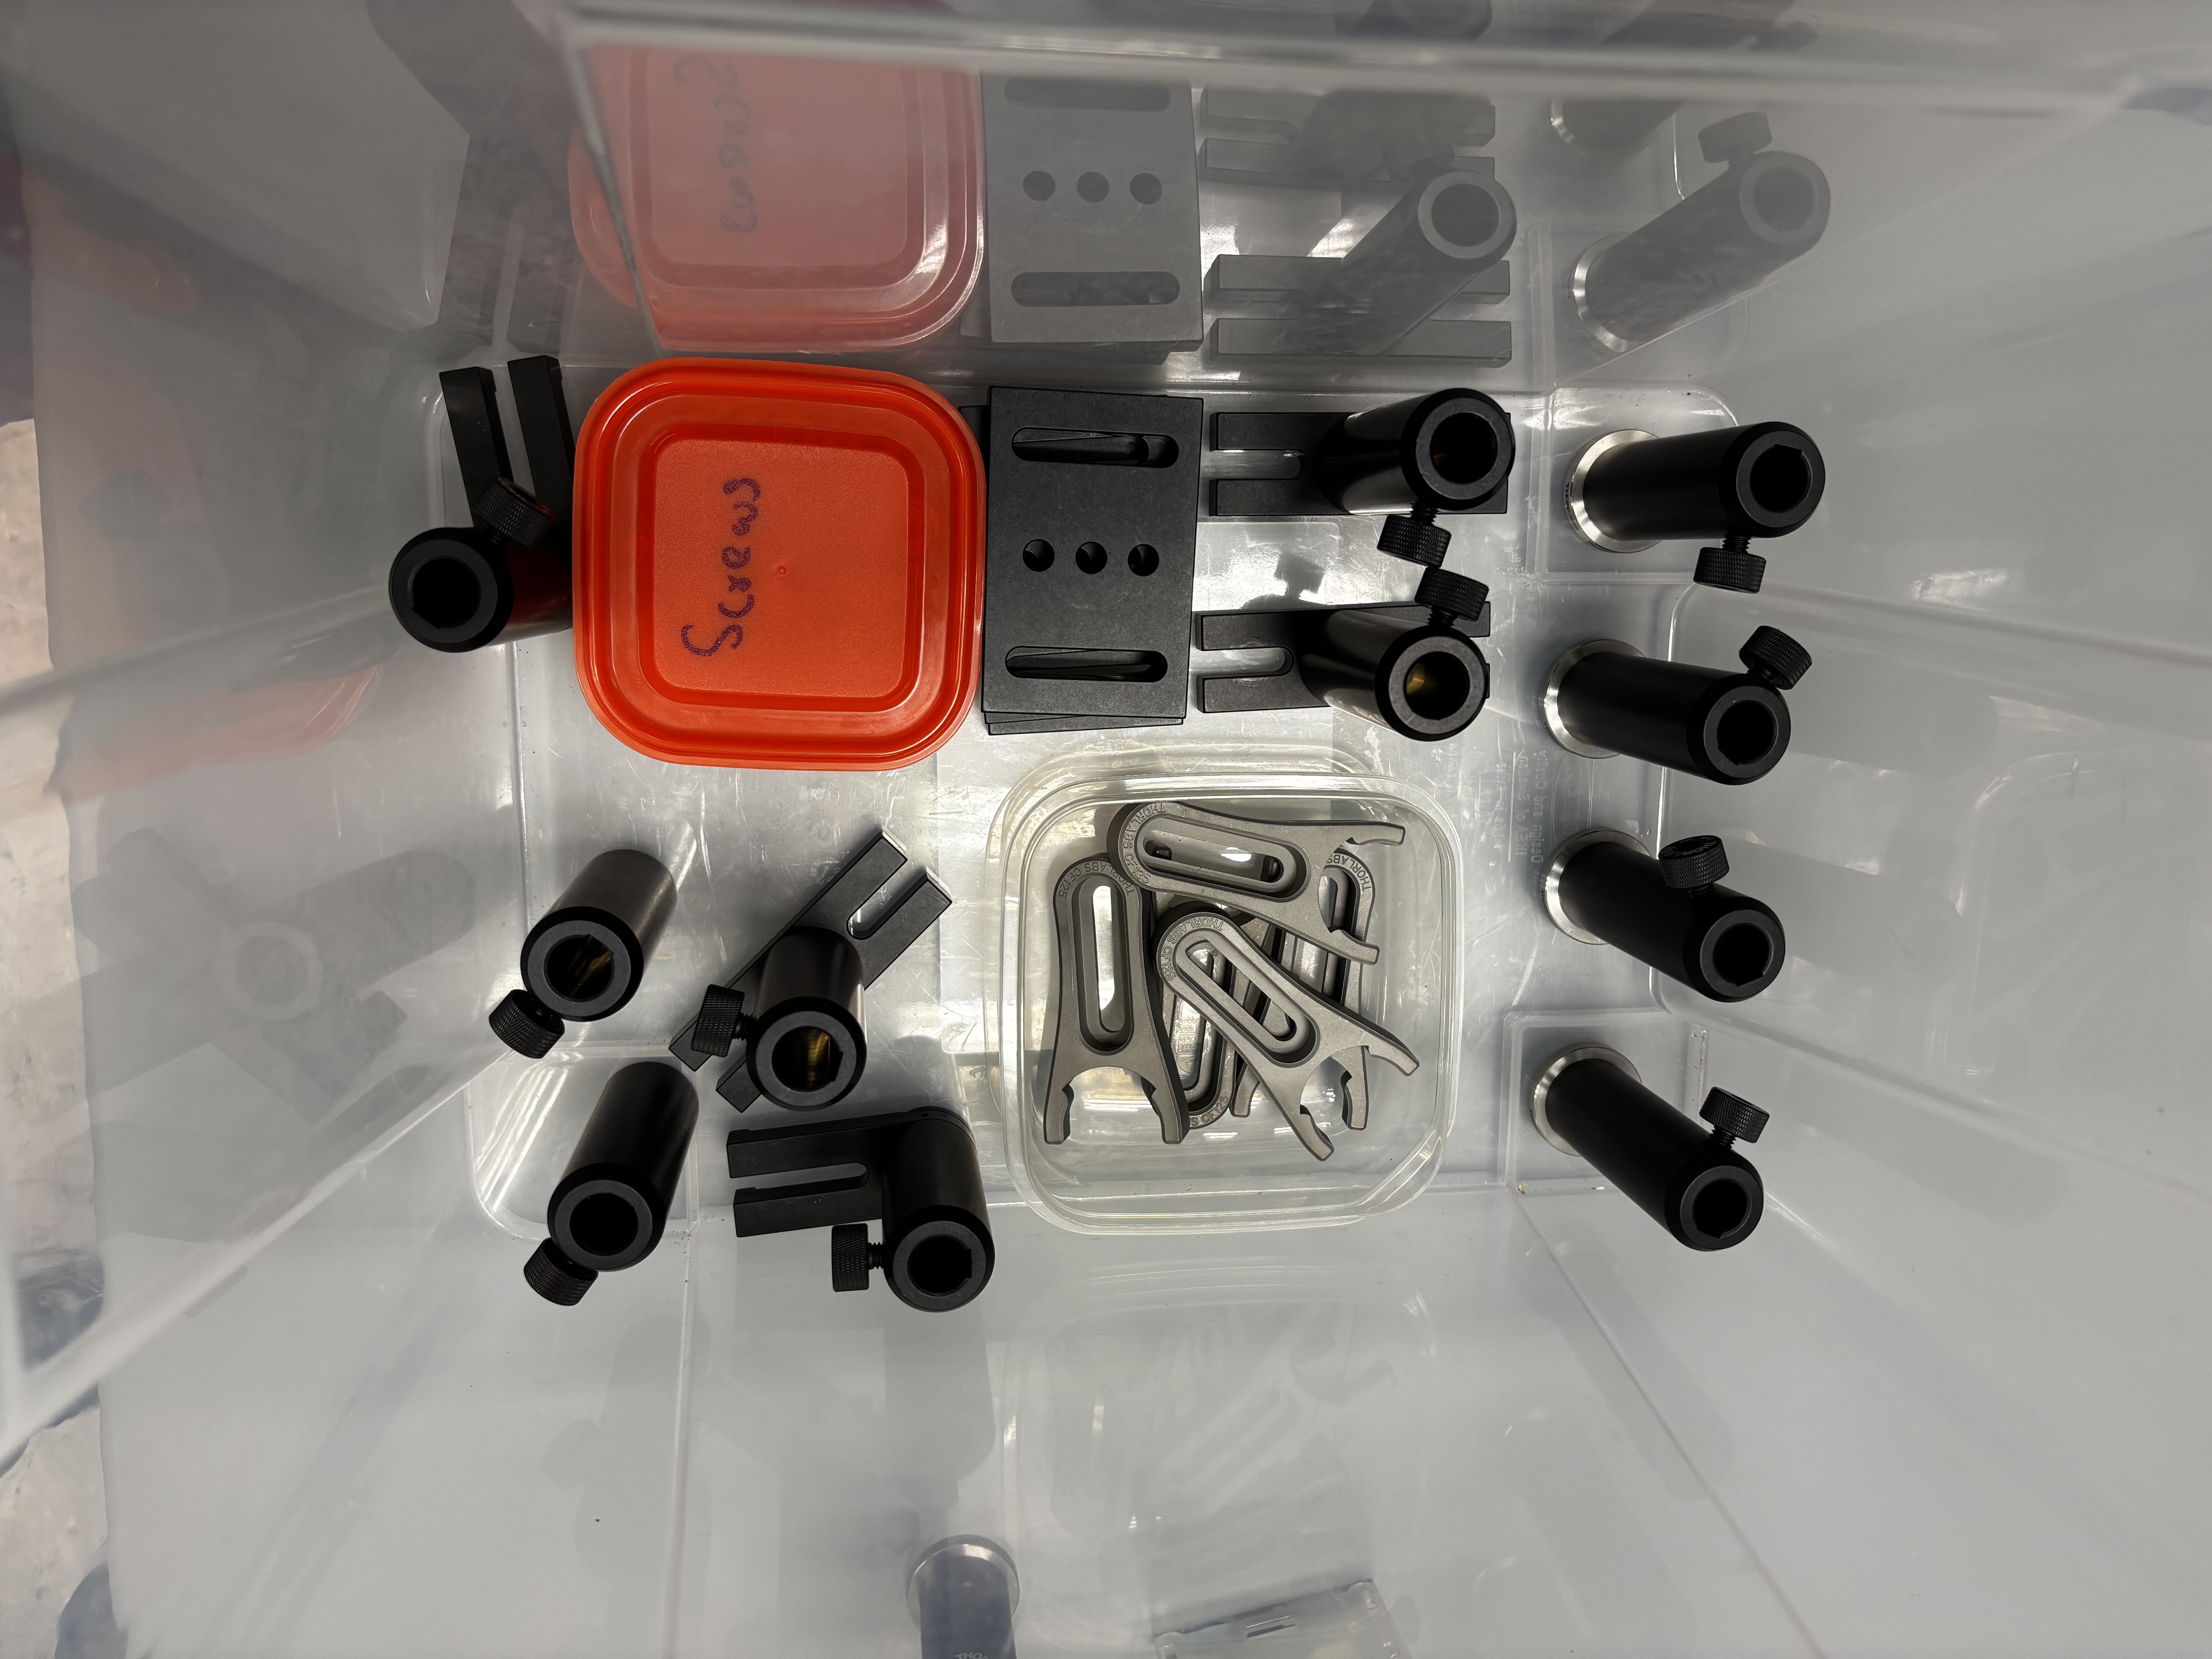
| ID | Description | Quantity |
|---|---|---|
| CFI25 | Cage plate, 25 mm, for lens or mirror mounting | 5 |
| BE1M | Pedestal base adapter, M6 thread | 5 |
| TR50M | Optical post, Ø12.7 mm × 50 mm length | 3 |
| BA2 | Mounting base, 50 mm × 100 mm | 3 |
| BA1 | Mounting base, 25 mm × 75 mm | 3 |
| TR75 | Optical post, Ø12.7 mm × 75 mm length | 4 |
| PH50 | Post holder, 50 mm height | 3 |
| UPH75 | Universal post holder, 75 mm height | 2 |
| PH75 | Post holder, 75 mm height | 9 |
| ID | Description | Quantity |
|---|---|---|
| R2M | Right-angle mounting bracket | 1 |
| LMR1 | Lens mount, Ø1 inch optics | 3 |
| KMSR | Kinematic mirror mount, Ø1 inch | 2 |
| KM100 | Kinematic mirror mount, precision adjust | 2 |
| VA100M | Variable iris aperture, Ø25 mm | 2 |
| LB1676 | Bi-convex lens, f = 50 mm, Ø25.4 mm | 1 |
| LB1 | Bi-convex lens, f = 100 mm, Ø50.4 mm | 1 |
| LB1471 | Bi-convex lens, f = 100 mm, Ø25.4 mm | 2 |
Since there is only one set of equipment, all groups taking on this project will need to share the equipment.
How we organise this sharing will depend on how many groups choose this challenge. Once the numbers are clear, we will coordinate a schedule to ensure everyone gets fair and sufficient access.
You will typically be able to book the equipment for a several hours. Please dismantle and reset the setup to the state you found it at the end of your session.
Please be mindful that this equipment costs thousands of dollars and includes precision optical components. Handle everything with care and respect: treat it as if it were your own research instrument.
Additionally, please:
- Keep things tidy: Return all optics, mounts, and tools to their proper places after use.
- Plan ahead: Use your allocated time efficiently. Prepare your samples and discuss your alignment plan before touching the equipment.
- Communicate: Coordinate with other groups to ensure smooth transitions and no overlaps.
- Report issues: If something looks off or feels stuck, stop immediately and inform your mentor, Ryan or myself.
- Keep things tidy: Return all optics, mounts, and tools to their proper places after use.
Caring for Optical Components
High-precision optical instruments are delicate and expensive. Proper care and handling are essential to maintain their performance and prevent damage. Handle optics as if they were priceless: because they are. A small scratch, fingerprint, or misplaced turn of a screw can undo hours of careful work.
Always put on clean, powder-free gloves before handling any optical equipment. Replace them if they become dirty or contaminated. Use a separate clean pair when moving from sample preparation to the optical equipment, and never handle optics or shared controls with contaminated gloves.
Gloves do not make it safe to touch an optical surface. Hold mounted optics by the mount and unmounted optics by the edge. Never touch the clear aperture or coated face of a lens, objective, filter, beamsplitter, or mirror.
How to Clean a Lens
Once an optical surface has been touched, dirtied, or cleaned incorrectly, it may never be restored fully to its original pristine condition. Clean an optical surface only when doing so is essential. If a little dust does not affect imaging, it is usually safer to leave the optic alone. Always ask your mentor or instructor before cleaning objectives, filters, mirrors, beamsplitters, or other coated surfaces.
If cleaning is necessary:
Blow off loose dust.
Use a clean rubber air blower to direct air gently across the surface at an angle. Never blow on an optic with your mouth.Brush away remaining particles.
If necessary, use a clean, soft camel-hair or approved optical brush. Hold the optic so that loosened particles fall away from its surface.Remove smudges or fingerprints.
Use approved lens tissue or a lint-free optical wipe, lightly moistened with the approved optical cleaning solution. Draw the tissue gently from the centre towards the edge in one smooth motion. Use as little liquid and pressure as possible. Do not rub in circles or reuse a dirty portion of the tissue.
Do not clean optics in a dusty or humid environment. Never use ordinary tissue, paper towels, clothing, rough cloths, or an unapproved solvent. Do not mix cleaning fluids.
Mechanical Components, Illumination, and Samples
- Support a component while loosening its carrier or post holder.
- Make small, deliberate adjustments and change only one variable at a time.
- Never force a thread, knob, screw, mount, or rail carrier.
- Do not overtighten screws. Tight enough to prevent movement is enough; excess force can stress or warp components.
- Do not disassemble factory-built subassemblies unless explicitly instructed.
- Switch off the illumination before inserting, removing, or rearranging components.
- Keep small parts in labelled containers and return every component to its designated location after use.