Building and Characterising an Optical Microscope
Peering into the heart of a microscope
Introduction
There is much more to an optical microscope than making things look bigger. A microscope is an embodiment of scientific beauty. The sheer amount of precision, ingenuity, engineering, and physics embodied in even the simplest microscope is mind-blowing.
Unfortunately, because optical microscopes are so ubiquitous, they are often taken for granted. Very few people appreciate how a microscope works, let alone know how to use one correctly. If you want to explore and understand the beauty of microscopy, then this project is for you.
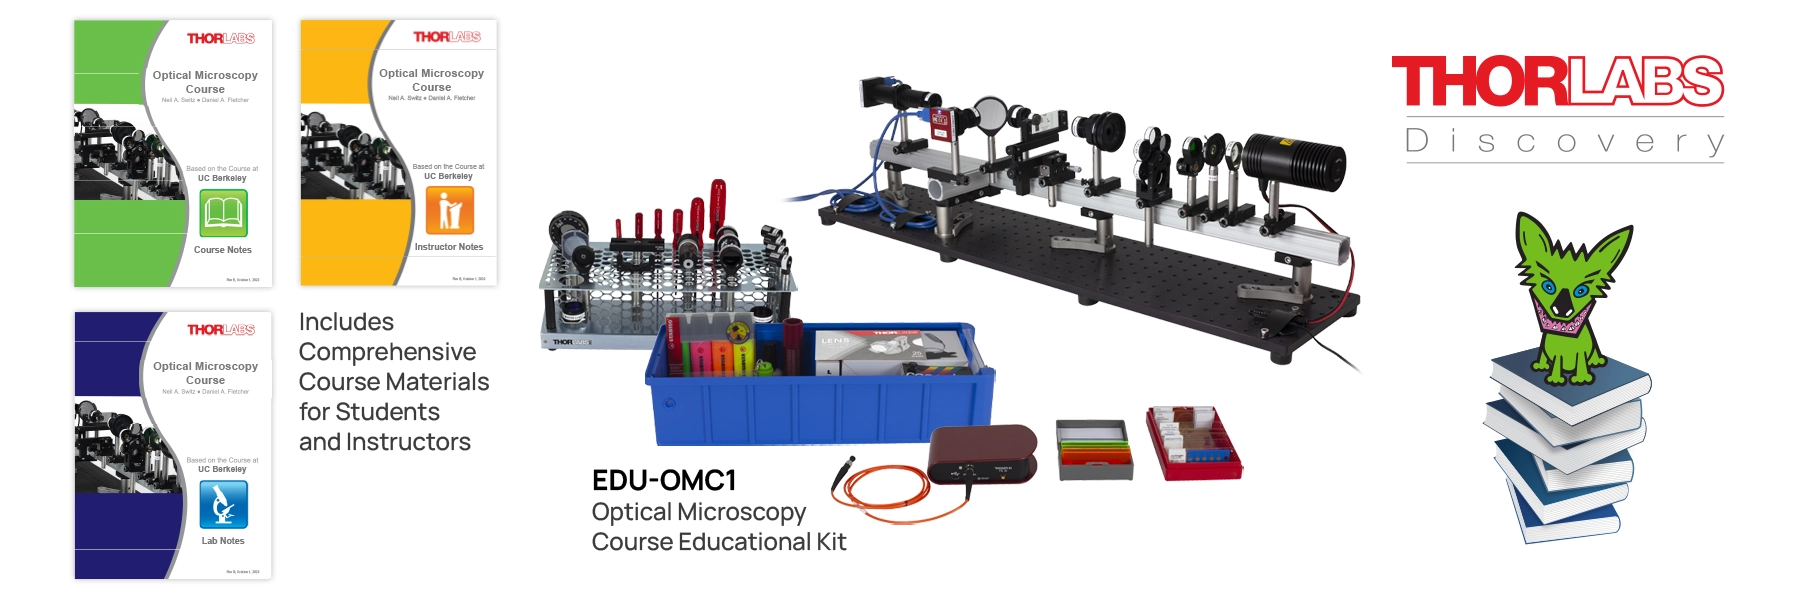
The project is based on the Thorlabs EDU-OMC1 Optical Microscopy Course Educational Kit, which was developed from a course taught at the University of California, Berkeley. The complete Thorlabs course contains ten laboratory units and would normally occupy a full semester. You are not expected to complete everything. Instead, you will use the notes selectively while developing a focused, quantitative, and reproducible experimental investigation over three weeks.
Project Details
You are interns at a scientific-instrument manufacturer that specialises in microscopy (for example, Nikon, Olympus, or Zeiss). As part of an effort to make microscopy more accessible to researchers (and, indirectly, to help them understand when more advanced equipment may be useful) your supervisor has assigned you the task of developing a one-hour educational session on optical microscopy.
She has identified the Thorlabs kit as a suitable source of experimental material. She wants you to set up and explore the equipment, identify the most important ideas, and reorganise the material into a coherent one-hour session aimed at researchers who may use microscopes but have little formal training in microscopy.
Think of the Week 12 viva as your first progress meeting with your supervisor. Your group will present the content, flow, and depth you have selected for the proposed one-hour session.
Your session must be grounded in your own experiments. It should not simply repeat material from the Thorlabs notes.
This is not expected to be a finished lecture. Your presentation should be minimalist and focused on the scientific content, experimental evidence, and reasoning behind your choices. Focus on the content not fonts, colours, transitions, or visual style.
- Present a clear plan for the one-hour educational session.
- Explain which topics you selected, which you omitted, and why.
- Support the session with experiments conducted during your three-week exploration.
- Use plots, images, and videos produced by your group wherever possible.
- Use images from the manuals and course notes only when necessary and keep them to a minimum.
- Demonstrate that you understand the scientific ideas behind every experiment, image, and explanation you include.
In research, it is common to encounter an unfamiliar instrument or technique and have to learn enough to use it meaningfully. This exercise requires you not only to learn new material, but also to recognise and decide which topics and activities are important for your purpose and which can be safely omitted.
This is a judgement call, so there is no single correct selection. A significant part of the challenge is to extract as much scientific and educational value as possible from the available material within the limited time. It means learning to prioritise, make informed choices, and avoid spending time on activities that do not advance your objective.
The resources (Lab Notes and Course Notes) provide a lot of highly organised information. However, the point is not to become a mindless automaton that follows a recipe. You should understand what is happening, make deliberate choices, and be able to justify them Throughout the project, you should constantly ask:
- Do we understand what we are doing?
- To what depth do we understand it?
- What experimental evidence supports our explanation?
- Is this topic necessary for our intended audience?
- How does this activity contribute to the story we want to tell?
The official documents are extensive. Use the sections relevant to your investigation rather than trying to read all of them from beginning to end.
| Resource | How to Use It | Link |
|---|---|---|
| EDU-OMC1 Product and Course Page | Overview, course-document downloads, component information, and videos | Product page |
| Lab Notes | Detailed laboratory procedures, practical exercises, and analysis prompts for Labs 1–10 | Proprietary: Ask your mentor or RSP. |
| Course Notes | Physical principles underlying the experiments, including imaging, diffraction, Abbe theory, contrast, fluorescence, spectra, and filters | Proprietary: Ask your mentor or RSP. |
Equipment
You have access to the full EDU-OMC1 Optical Microscopy Course Educational Kit!
Software
| Software | Purpose | Link |
|---|---|---|
| ThorCam | Camera control and image acquisition | Supplied for the Thorlabs cameras; see the kit documentation |
| ImageJ or Fiji | Calibration, regions of interest, intensity profiles, filtering, and image analysis | ImageJ / Fiji |
| Python | Reproducible analysis, plotting, uncertainty calculations, and Fourier transforms | |
| Thorlabs OSA Software | Spectrometer acquisition, if your investigation uses spectra or filters | See the kit documentation |
You may use other software if it is appropriate, but your workflow must be reproducible and your processing choices must be explained.
Since there is only one set of equipment, all groups taking on this project will need to share the equipment.
How we organise this sharing will depend on how many groups choose this challenge. Once the numbers are clear, we will coordinate a schedule to ensure everyone gets fair and sufficient access.
You will typically be able to book the equipment for a several hours. Please dismantle and reset the setup to the state you found it at the end of your session.
Please be mindful that this equipment costs thousands of dollars and includes precision optical components. Handle everything with care and respect: treat it as if it were your own research instrument.
Additionally, please:
- Keep things tidy: Return all optics, mounts, and tools to their proper places after use.
- Plan ahead: Use your allocated time efficiently. Prepare your samples and discuss your alignment plan before touching the equipment.
- Communicate: Coordinate with other groups to ensure smooth transitions and no overlaps.
- Report issues: If something looks off or feels stuck, stop immediately and inform your mentor, Ryan or myself.
- Keep things tidy: Return all optics, mounts, and tools to their proper places after use.
Caring for Optical Components
High-precision optical instruments are delicate and expensive. Proper care and handling are essential to maintain their performance and prevent damage. Handle optics as if they were priceless: because they are. A small scratch, fingerprint, or misplaced turn of a screw can undo hours of careful work.
Always put on clean, powder-free gloves before handling any optical equipment. Replace them if they become dirty or contaminated. Use a separate clean pair when moving from sample preparation to the optical equipment, and never handle optics or shared controls with contaminated gloves.
Gloves do not make it safe to touch an optical surface. Hold mounted optics by the mount and unmounted optics by the edge. Never touch the clear aperture or coated face of a lens, objective, filter, beamsplitter, or mirror.
How to Clean a Lens
Once an optical surface has been touched, dirtied, or cleaned incorrectly, it may never be restored fully to its original pristine condition. Clean an optical surface only when doing so is essential. If a little dust does not affect imaging, it is usually safer to leave the optic alone. Always ask your mentor or instructor before cleaning objectives, filters, mirrors, beamsplitters, or other coated surfaces.
If cleaning is necessary:
Blow off loose dust.
Use a clean rubber air blower to direct air gently across the surface at an angle. Never blow on an optic with your mouth.Brush away remaining particles.
If necessary, use a clean, soft camel-hair or approved optical brush. Hold the optic so that loosened particles fall away from its surface.Remove smudges or fingerprints.
Use approved lens tissue or a lint-free optical wipe, lightly moistened with the approved optical cleaning solution. Draw the tissue gently from the centre towards the edge in one smooth motion. Use as little liquid and pressure as possible. Do not rub in circles or reuse a dirty portion of the tissue.
Do not clean optics in a dusty or humid environment. Never use ordinary tissue, paper towels, clothing, rough cloths, or an unapproved solvent. Do not mix cleaning fluids.
Mechanical Components, Illumination, and Samples
- Support a component while loosening its carrier or post holder.
- Make small, deliberate adjustments and change only one variable at a time.
- Never force a thread, knob, screw, mount, or rail carrier.
- Do not overtighten screws. Tight enough to prevent movement is enough; excess force can stress or warp components.
- Do not disassemble factory-built subassemblies unless explicitly instructed.
- Switch off the illumination before inserting, removing, or rearranging components.
- Keep small parts in labelled containers and return every component to its designated location after use.